
Earlier this year my friend Cole approached me about motorizing his video slider. Even though the project took far too long to finish, I’m very happy with the results.
The project ended up involving a bunch of fun stuff I didn’t have much experience with, including 3D printing, Arduino, and driving a motor. The final project self calibrates on startup, has variable speed, and is battery powered. The slider can oscillate back and forth or move in a single direction.
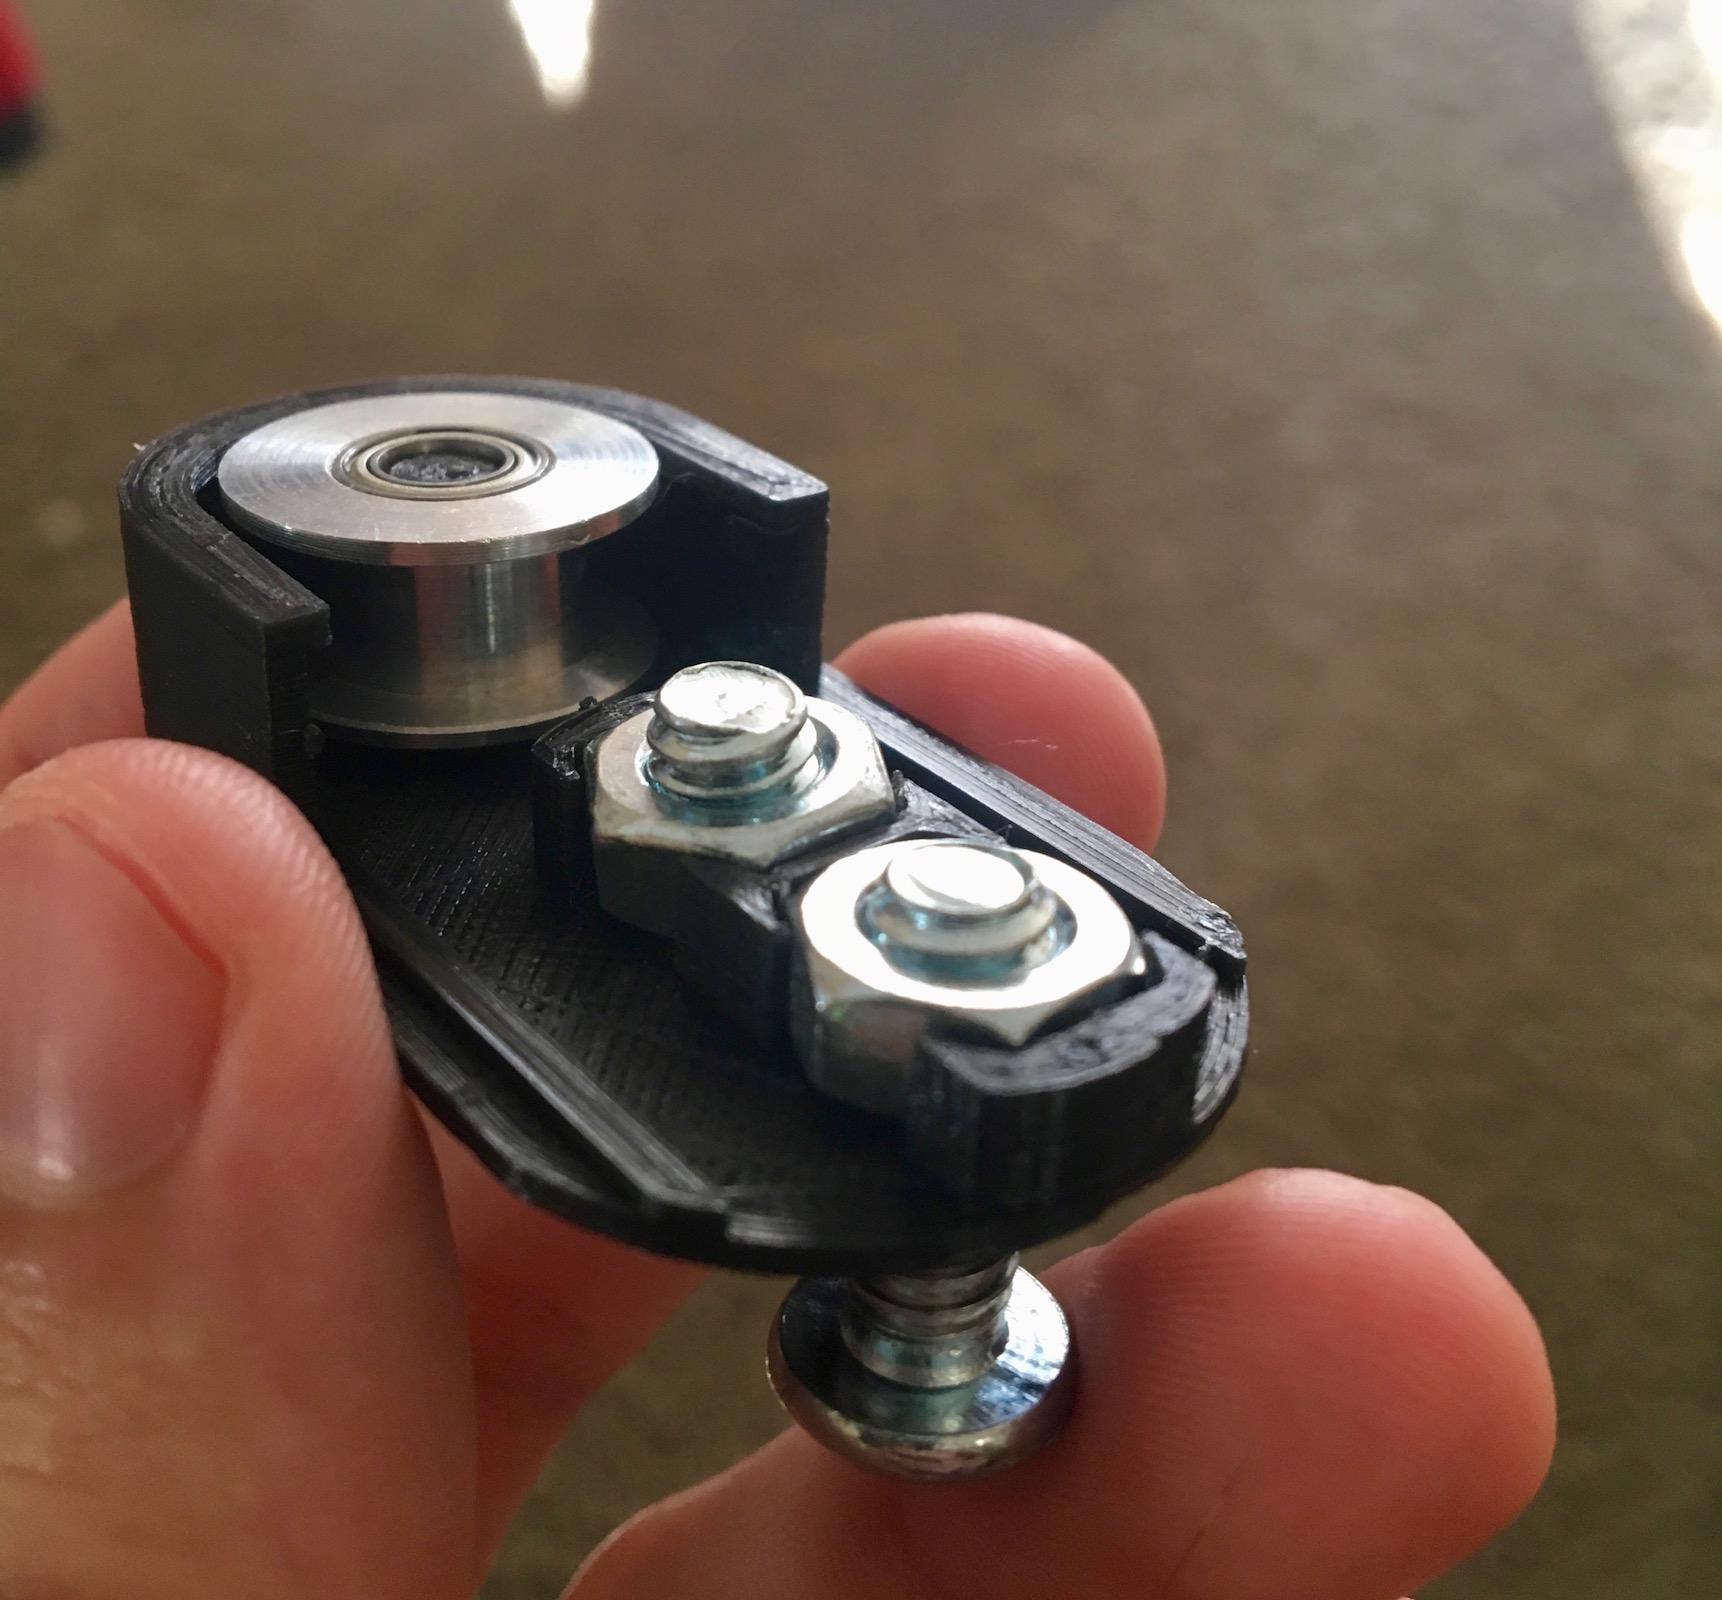
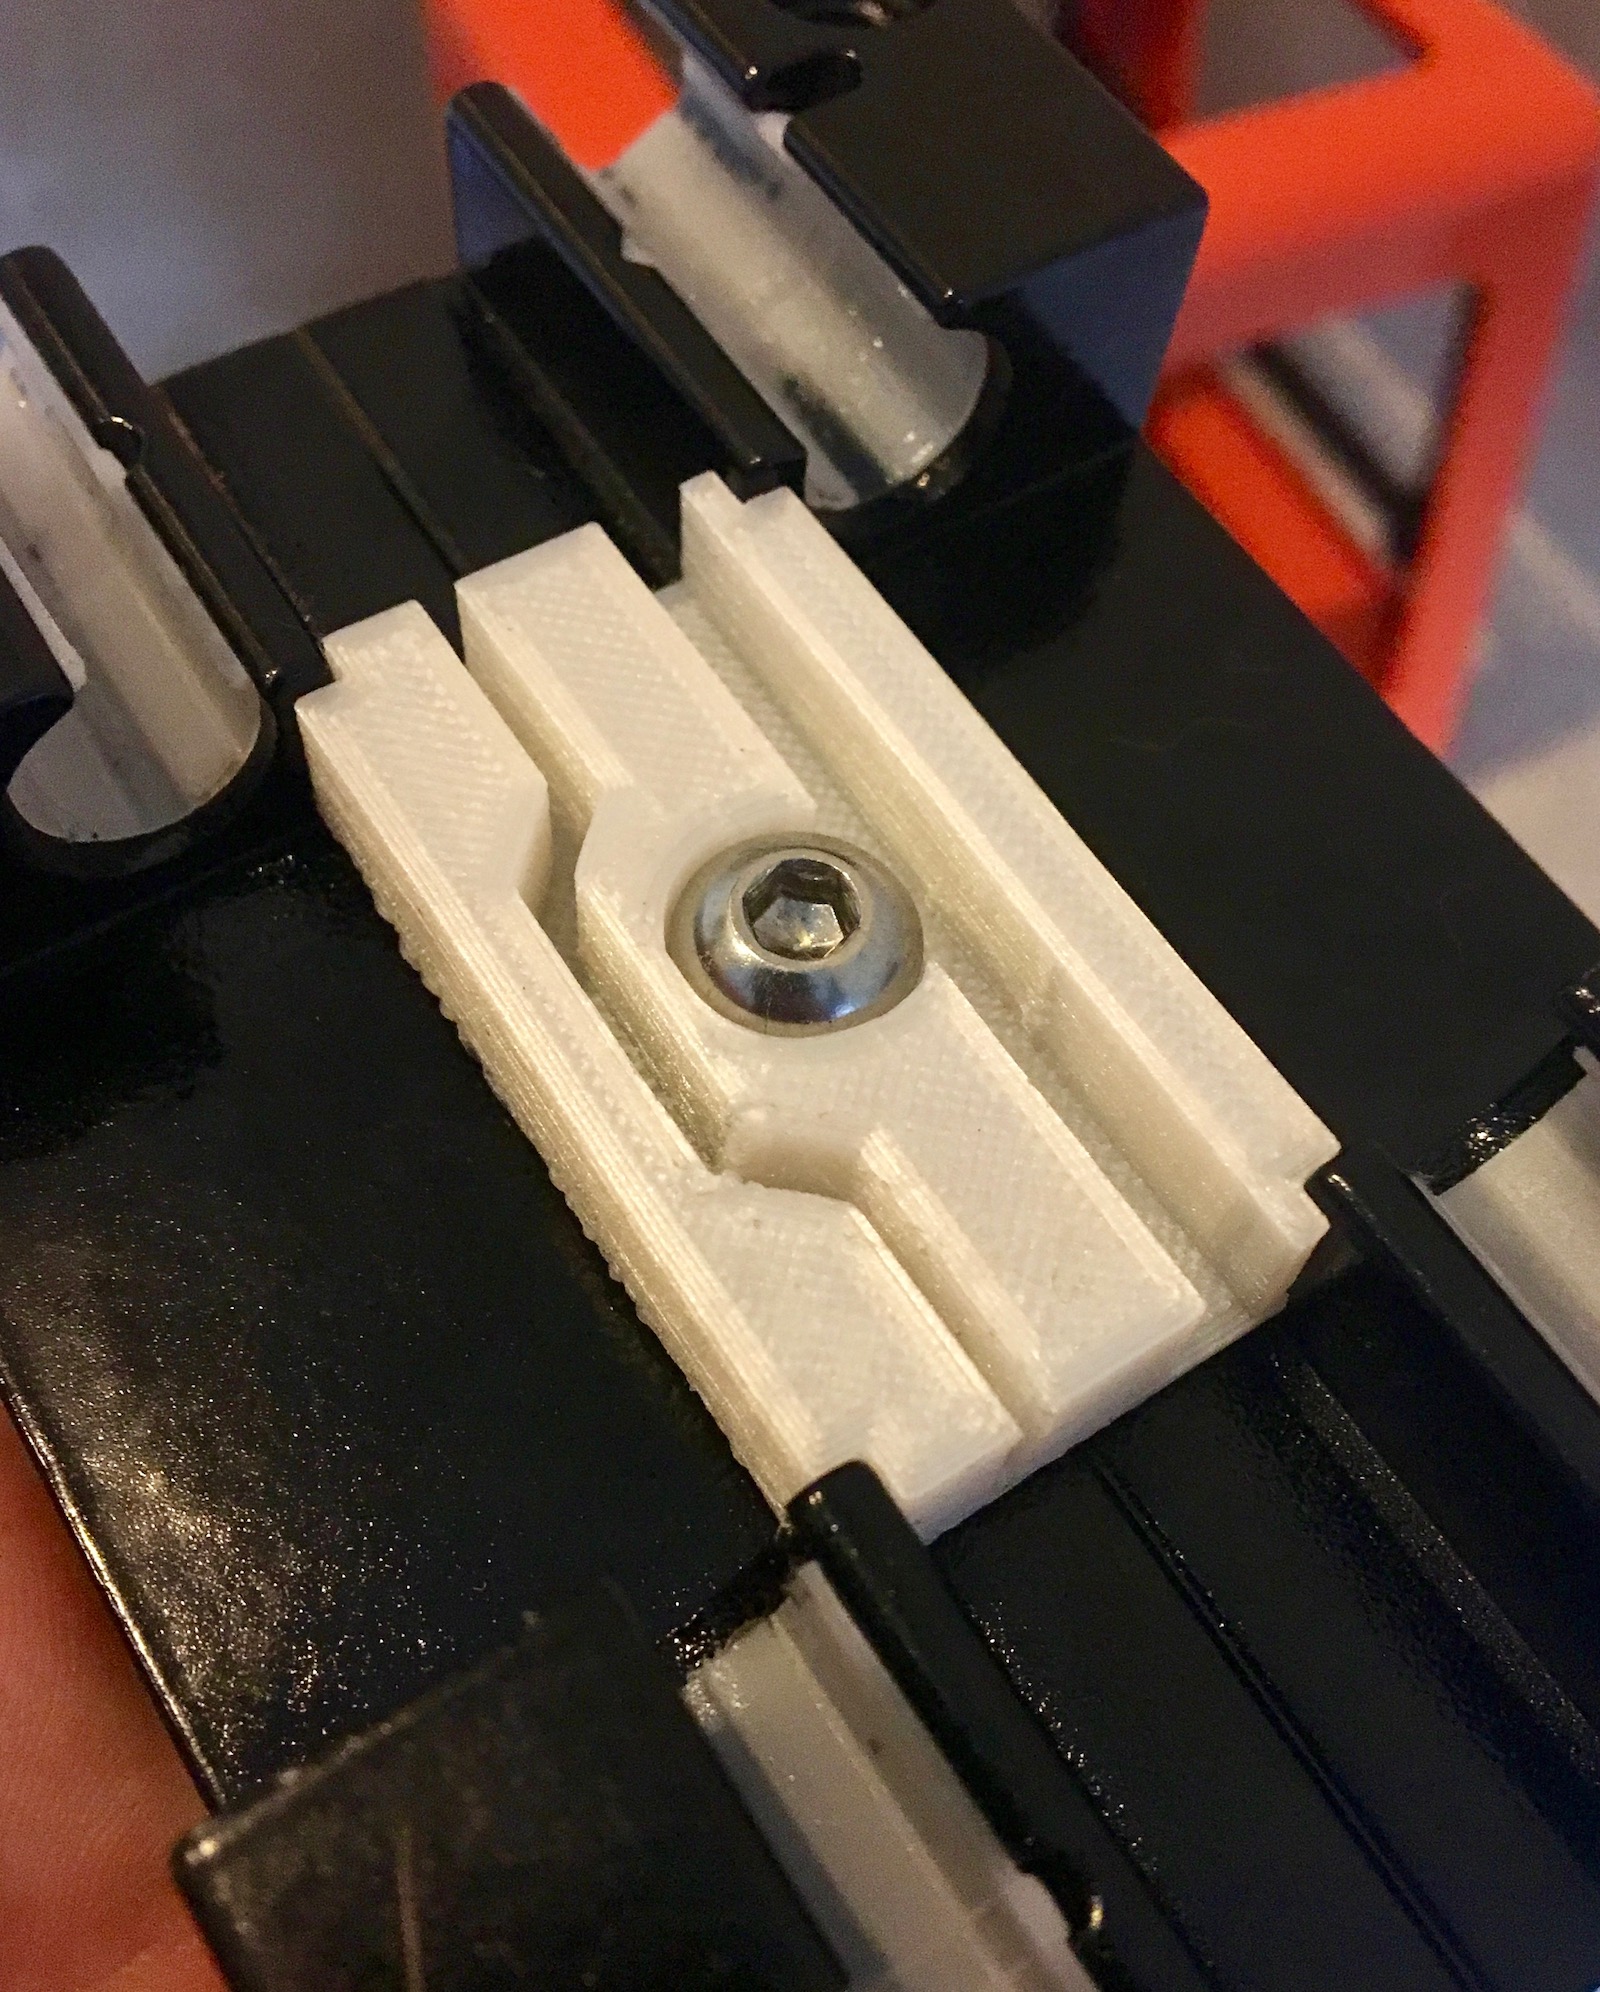
3D Printing
I’ve been using OpenSCAD to model my prints.
Arduino
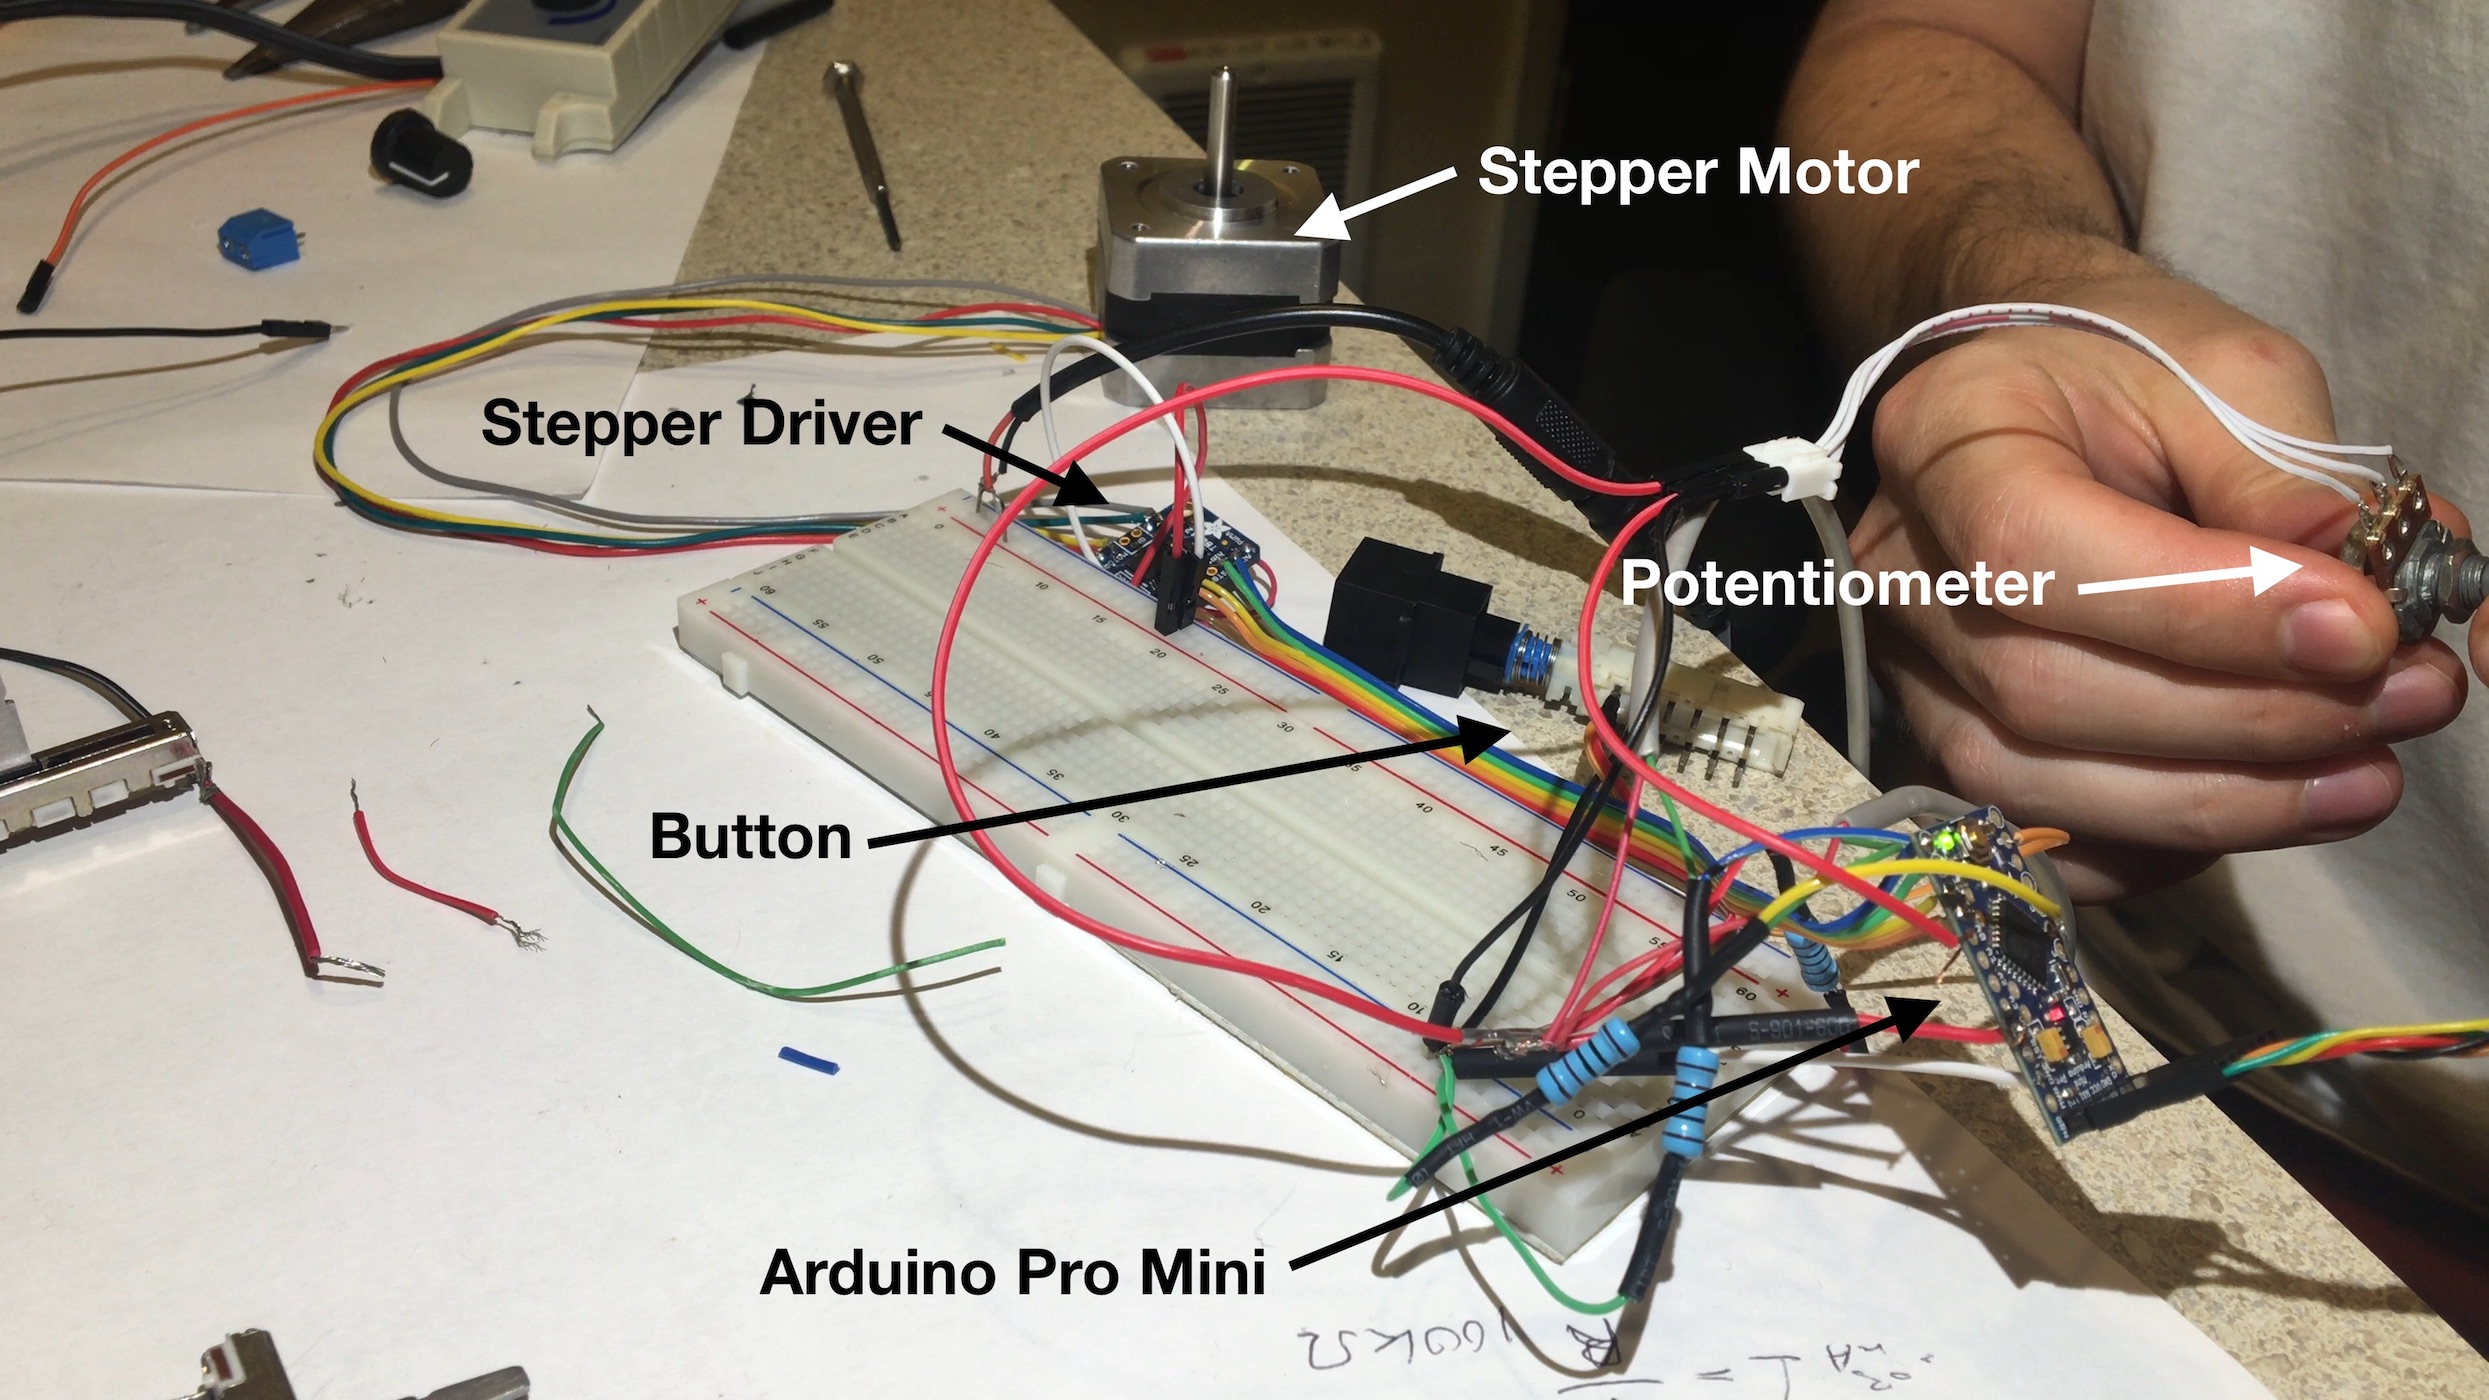
I decided on an Arduino Pro Mini because of its small size. I had no need for internet connectivity so the feature set of the Mini worked well.
The basic structure of the code is a state machine. Each program loop watches global variables and listens to events to determine how to drive the motor. For more information, check out the project on GitHub.
Switches on either end of the slider are used for initial calibration, as a safeguard throughout operation, and to trigger single directional movement. A potentiometer sets speed and a button starts and stops oscillation.
Final Product

Take a look at Cole’s Instagram or YouTube to see some shots from the final product.
What I Learned
I was worried about excessive vibration and noise, but it’s not noticeable especially when using a heavier camera.
This was my first big 3D printing project, and I had more trouble than I’d
like. This was mostly due to the cheapness of my printer: slow prints, not
great accuracy, and pretty terrible software. I also had to figure out how much
spacing to account for when printing pieces that fit together. I think the rule
I found was .2mm for a tight fit and .4mm for loose.
The biggest issue I had was when attempting to print large surfaces, like an enclosure for the controls. I had some major warping issues; I think a heated bed would help. After deciding to use a pre-built box instead of a custom one, I ended up cracking it a few times before figuring out a good drilling technique.